
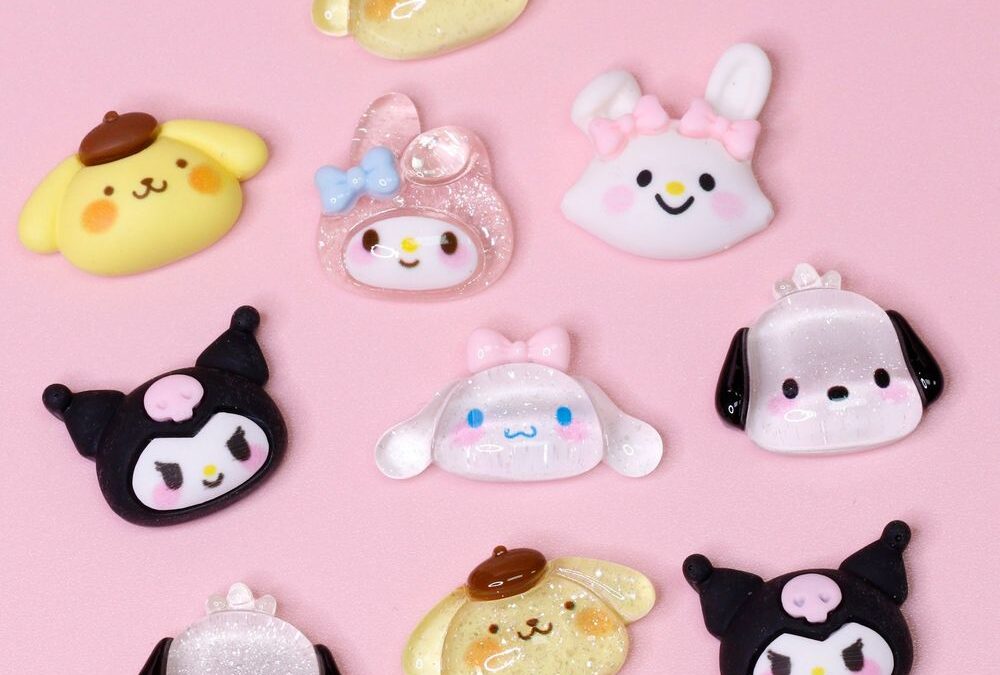
Want salon-quality kawaii nails without booking an appointment? Hello Kitty nail charms are an easy, playful way to upgrade manicures for clients or for your own at-home looks. This guide shows step-by-step techniques professionals use to place tiny character charms cleanly, securely, and with style—whether you work in a salon or are building your at-home nail kit.
What’s in the pack and why it works
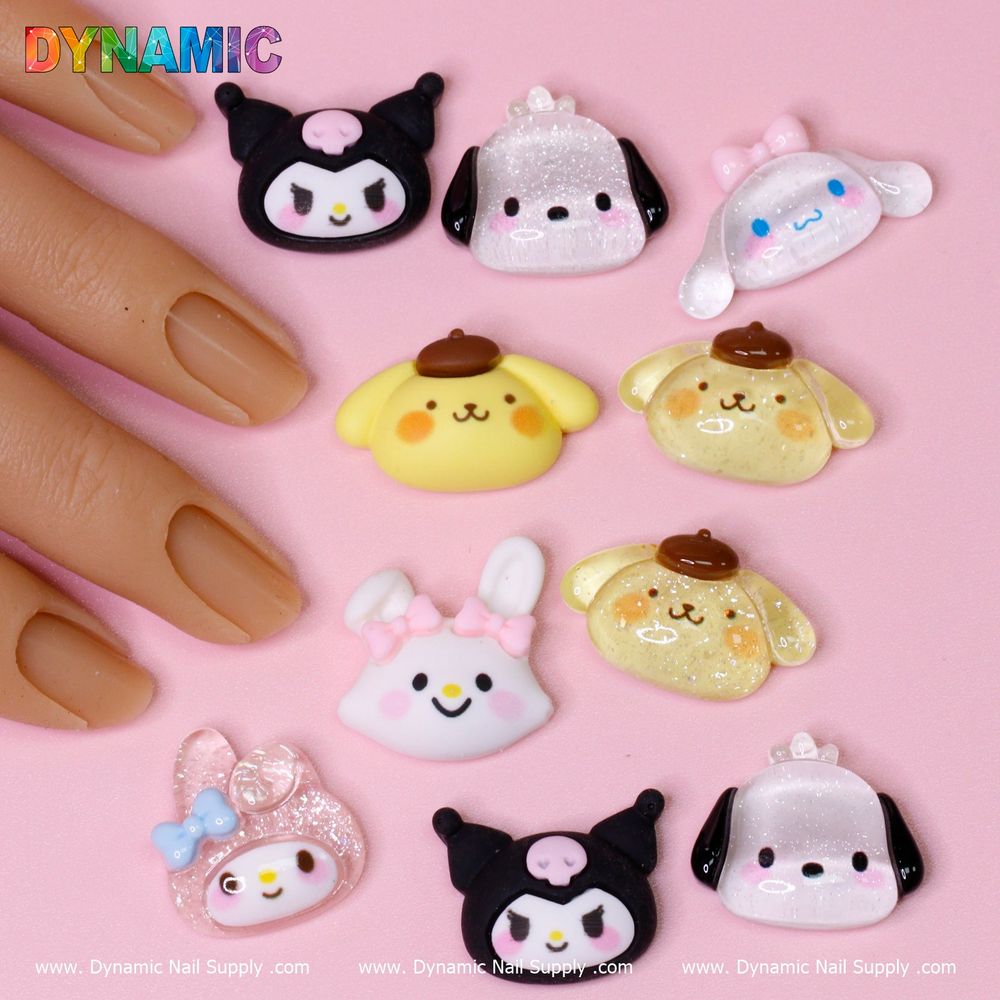
Each pack contains ten mixed-design kawaii nail charms featuring popular characters and cute motifs. The variety lets you layer focal pieces on an accent nail or scatter smaller motifs across a full set for a matched-but-not-identical look. If you want to pick up a set, find these Hello Kitty nail charms at Hello Kitty nail charms. The current listed price is $6.00, but prices may change.
Professional prep: the foundation for long-lasting charm wear
Good results start with nail prep. Clean, buff, and remove oils for secure adhesion. For natural nails, push back cuticles and lightly dehydrate the nail plate with alcohol or a nail cleaner. For enhancements, lightly buff the surface of overlays so glue or gel bonds to the product rather than to a glossy finish.
Tools and products to have on hand
- Fine tweezers or a wax pick for delicate placement
- Nail glue (cyanoacrylate) and a gel adhesive or builder gel for extra security
- UV/LED lamp if using gel
- Top coat (regular or soak-off gel top coat)
- Alcohol wipes and a small brush to remove uncured gel
Step-by-step application methods (glue and gel)
There are two widely used professional approaches: instant glue for quick sets and builder gel for a durable, salon finish. Choose the method that fits your workflow and the client’s lifestyle.
Quick glue application (fast salon or at-home)
- Prepare the nail as described above.
- Apply polish or a thin base coat and cure if needed.
- Place a tiny dot of nail glue where the charm will sit; let it turn tacky for a second.
- Use tweezers to position the charm, press gently for 5–10 seconds.
- Seal with a thin layer of top coat around the edges—avoid covering very textured charms fully to preserve detail.
Builder gel method (best for durability)
- After prep, lay down a thin layer of builder or clear gel where the charm will go but do not cure.
- Place the charm into the wet gel and adjust position with tweezers or a gel pick.
- Gently press the charm into place, remove excess gel around edges with a small brush.
- Cure under LED/UV lamp according to your gel’s instructions.
- Finish with a full-coverage gel top coat and cure; wipe the inhibition layer if present.
Design tips to get a professional look
- Use one charm as a focal point per hand and complement with subtle glitter or micro-beads on other nails.
- Mix sizes and characters for a playful, cohesive set—reserve larger motifs for accent nails to avoid bulk across every finger.
- Balance color: place bright or heavily detailed charms on neutral or sheer backgrounds so they stand out.
- Consider negative space: leave some nails minimal to make the charms feel intentional and not cluttered.
Longevity, removal and aftercare
To maximize wear, advise clients to avoid prolonged soaking and to use gloves for chores. When it’s time to remove charms, do not force or pry them off; instead, soften glue with an appropriate remover or soak-off gel technique and gently lift with a cuticle pusher. After removal, buff lightly and apply cuticle oil to rehydrate the nail and surrounding skin.
Who should use these charms?
These kawaii charms suit nail artists who create playful, themed sets and clients who want whimsical, character-driven manicures. They’re ideal for teen clients, special events, or anyone building a kawaii or pop-culture-inspired portfolio. The mixed designs make them versatile for both single accent nails and creative full-set concepts.
Care and safety notes
Keep charms out of reach of small children and pets. Use adhesives and solvents in a well-ventilated area and follow manufacturer instructions for all bonding products and gels. If you or a client has a known sensitivity to nail adhesives, choose hypoallergenic options and perform a patch test when in doubt.
For professionals stocking up, this 10-piece mix is a cost-effective way to add character options to your kit—sold by Dynamic Nail Supply—so you can offer fresh seasonal or themed looks without extra sculpting.
Whether you’re working in a salon or crafting a weekend at-home mani, following these prep, placement, and finishing steps will help you achieve neat, long-lasting Hello Kitty nail charms looks that feel polished and professional.