

Bright, designer-inspired decals can turn a simple manicure into a statement. Lime water nail decals are an easy way to add crisp, breath-of-fresh-air color to tips or full-nail designs without complex painting skills. Read on for a step-by-step how-to that walks you through preparation, placement, and finishing so you get professional-looking results.
Why choose lime water nail decals for salon-quality looks
Lime water nail decals combine vibrant color with precise, pre-designed motifs that suit both minimalist and bold manicures. Because they come ready to apply, decals save time and reduce the chance of uneven lines or blotchy polish. If you want to try something new without investing in tools or advanced techniques, decals are a reliable choice.
You can find this product listed as Sticker Lime and it’s available from Dynamic Nail Supply; priced at $2.00 (prices may change).
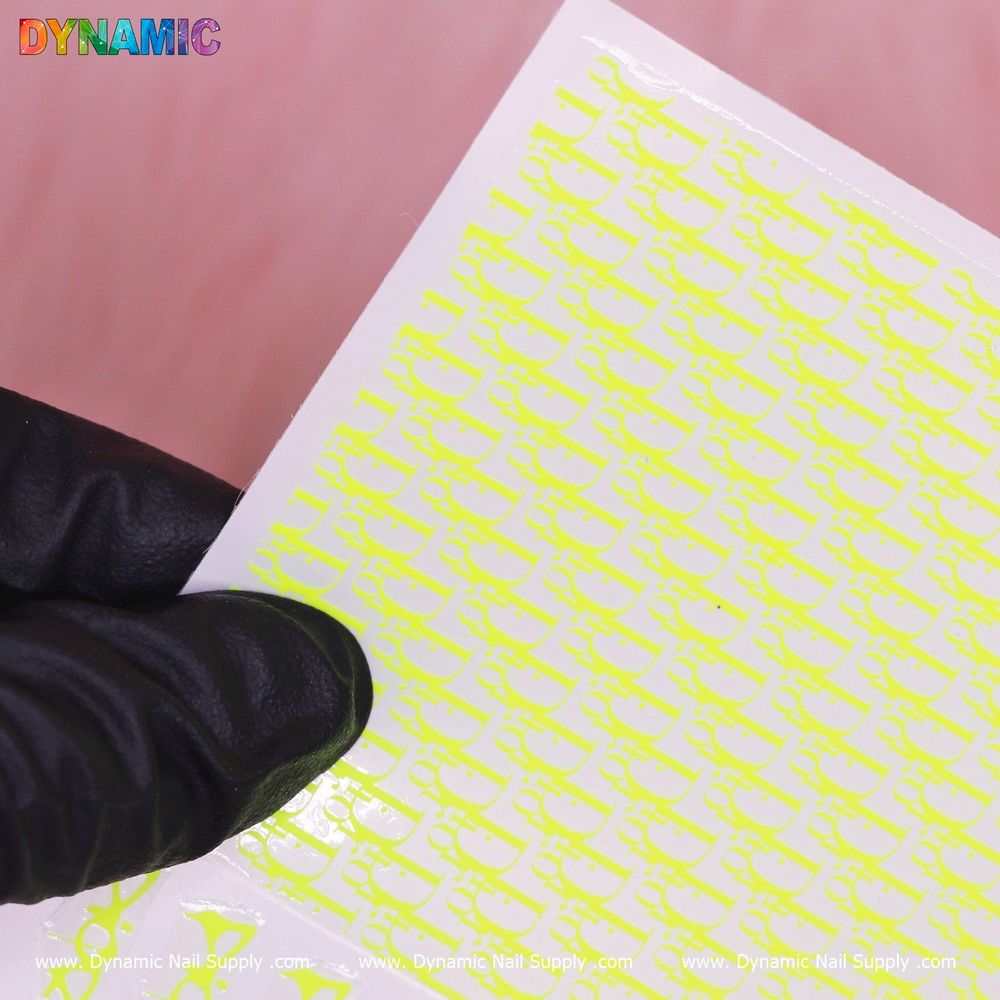
Prep: set a clean foundation
- Start with clean nails. Remove old polish, push back cuticles and trim or shape the nails to your preferred length.
- Buff lightly. A gentle buff removes shine and helps decals adhere better, but avoid over-buffing the nail plate.
- Use a thin base coat. A smooth, even base gives decals something to grip and prevents staining on natural nails.
Step-by-step application for precise placement
- Choose the right decal section. Pick the design elements that fit each nail—trim if necessary to match nail width.
- Soak briefly. As with standard water decals, dip the selected decal in water just long enough to loosen it from the backing. Excess soaking can make very fine motifs fragile, so watch closely.
- Slide and position. Use tweezers or a small brush to slide the decal off the backing and onto the nail. Work quickly but gently to avoid creases.
- Adjust before it sets. While still wet, shift the decal into the final position. Smooth from center to edges with a silicone tool or the rounded end of a cuticle pusher to remove air pockets.
- Blot excess moisture. Lightly dab around the edges with a lint-free wipe—this helps the decal conform and reduces lifting.
Finishing touches and topcoat tips
Sealing decals is crucial for longevity and a salon finish. Apply a thin layer of topcoat to lock the decal in place. For a smoother result, apply two thin layers rather than one thick one—allow the first to dry before adding the second. If you prefer a glossy look, use a high-shine topcoat; for a matte finish, choose a matte topcoat.
Edge sealing: run the topcoat over the free edge of the nail to cap the decal and minimize lifting. If you work in a salon setting, advise clients to avoid soaking hands in warm water for the first few hours after application to let the finish fully set.
Key features in context
This product is listed under tags such as designer, luxury and water decal, which reflect its role as a decorative nail element rather than a replacement for polish. Water decals are valued for:
- Precision: Pre-printed motifs that deliver clean lines without freehand painting.
- Speed: Faster application than many hand-painted designs, making them ideal for busy salons or quick home manicures.
- Versatility: Use them over solid color bases, gradients, or even on tips for accent designs.
Who should use lime water nail decals?
These decals suit a range of users: nail professionals adding a fresh, colorful option to their menu; hobbyists who want standout designs without advanced skills; and anyone looking to experiment with small, seasonal accents. Because the sheet is compact and budget-friendly, it’s also a good add-on retail item at the salon counter.
Care, storage and safety notes
- Storage: Keep decals flat and in a cool, dry place away from direct sunlight to avoid color fading or curling.
- Handling: Work on a clean surface and avoid oily hands when handling decals to maintain adhesion.
- Sensitivity: If you or a client has known sensitivities to nail products, test a small area first and discontinue use if irritation occurs.
Practical tips for salon efficiency and at-home polishers
- Batch work in salons: Prepare multiple base coats and decal selections in advance to speed service.
- Mix and match: Combine lime decals with neutral bases (cream, beige) for a chic look or with darker shades for contrast.
- Repair quick fixes: A single decal makes a fast repair for a chipped accent nail—remove the damaged section, reapply a decal, and seal.
With a little practice and attention to preparation and sealing, lime water nail decals can deliver clean, professional results whether you’re working in a salon or doing nails at home. Approach each application methodically—prep, place, seal—and you’ll get predictable, wearable results every time.