
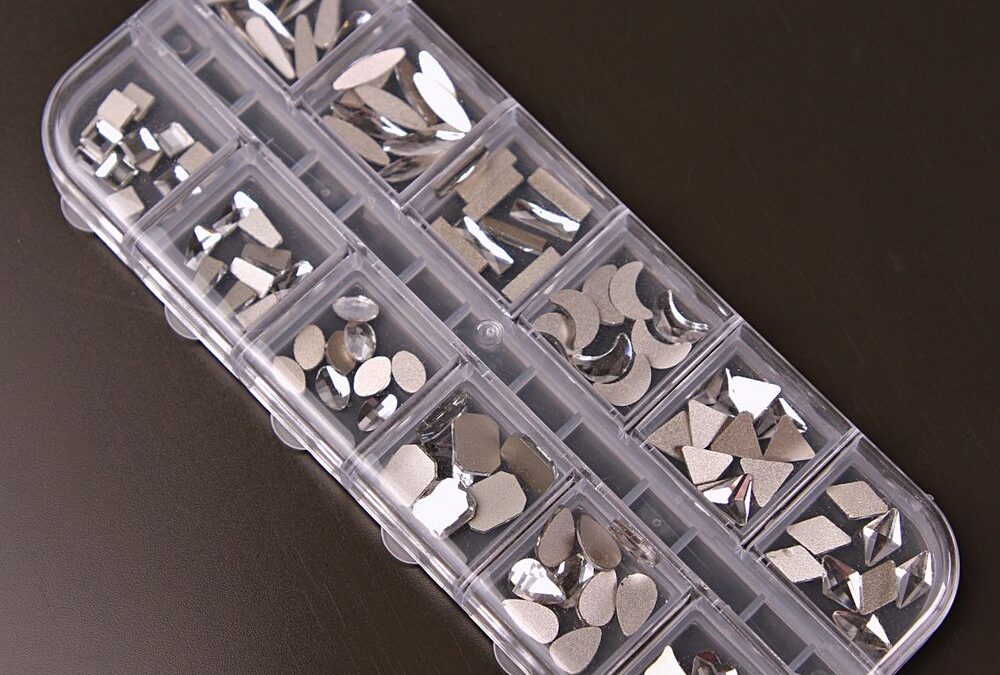
Give your manicure an instant upgrade with a multi-shape set of flat-back silver crystal gems. Whether you want a subtle sparkle or full-on bling, these mixed silver nail rhinestones let you design precise, eye-catching looks that last when applied correctly.
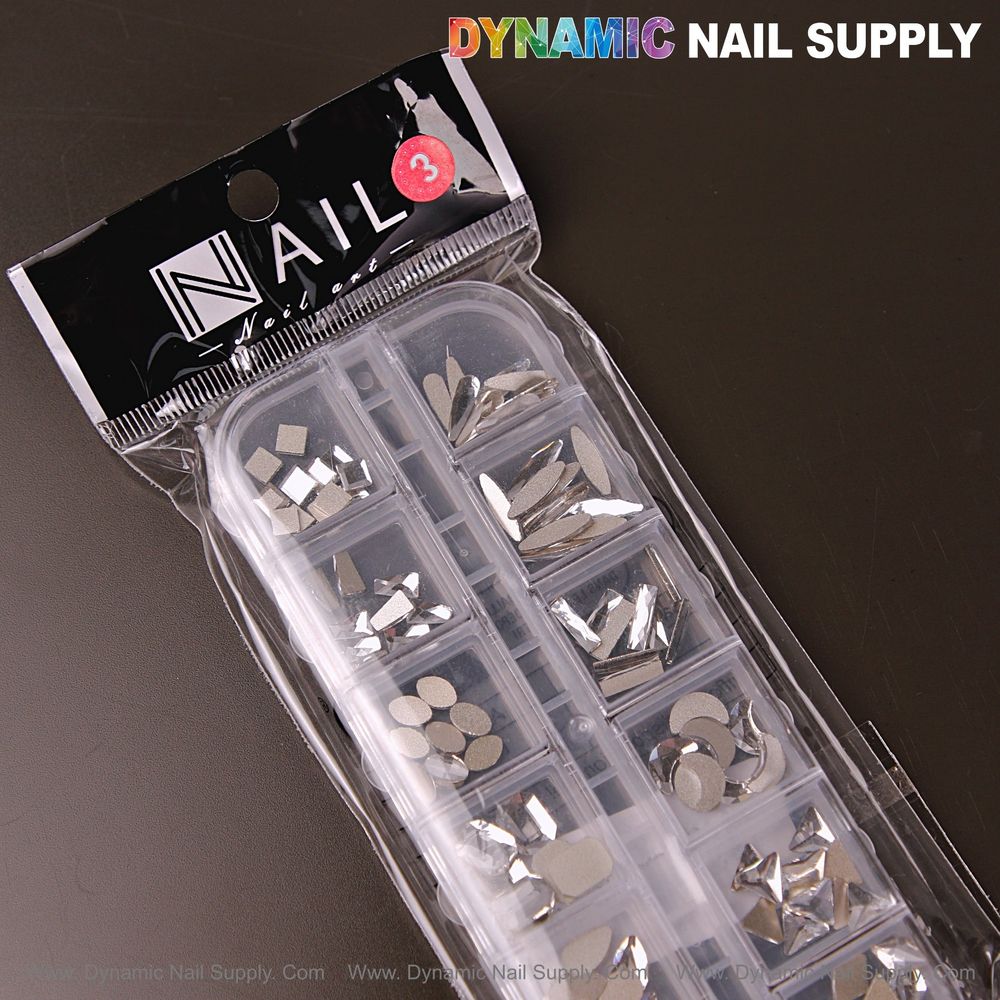
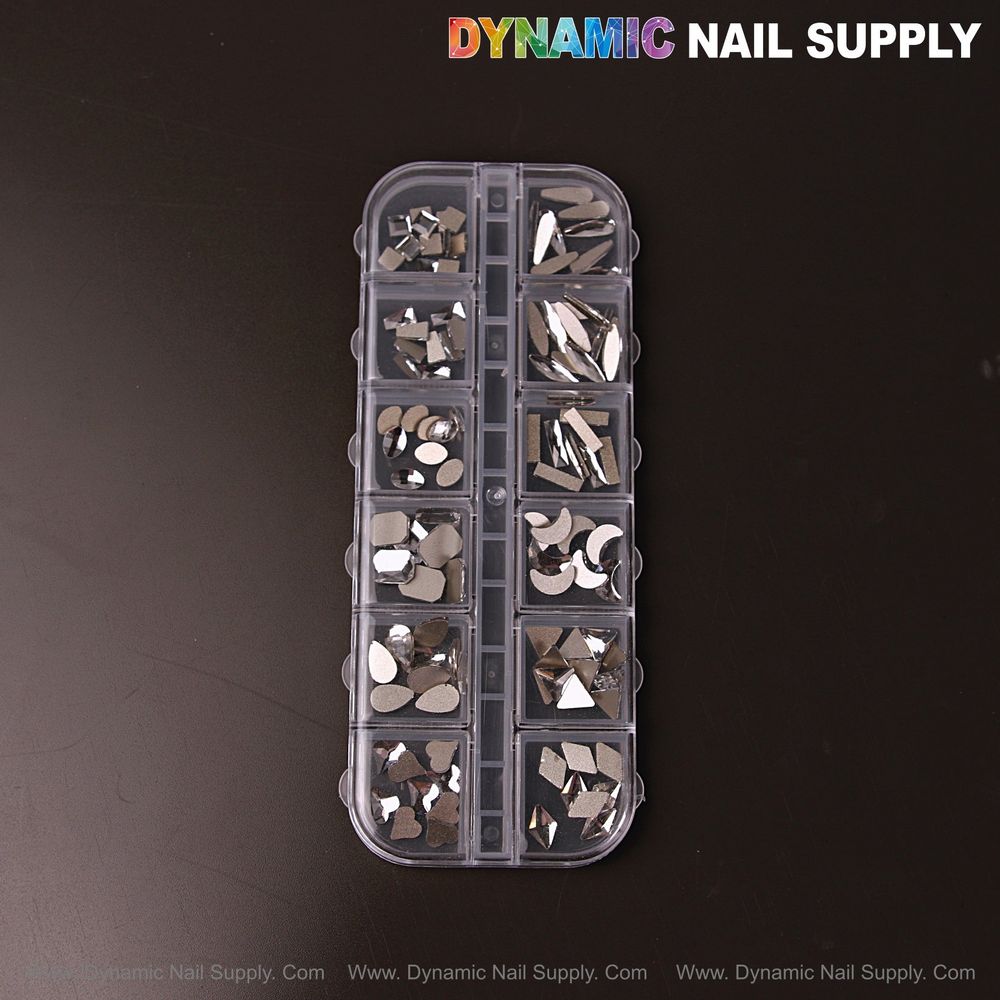
For a ready-to-use kit, check Nail Rhinestones silver back. This compact collection includes varied shapes and sizes plus a storage box and basic tools to simplify placement and storage.
What’s in the kit and why shape variety matters
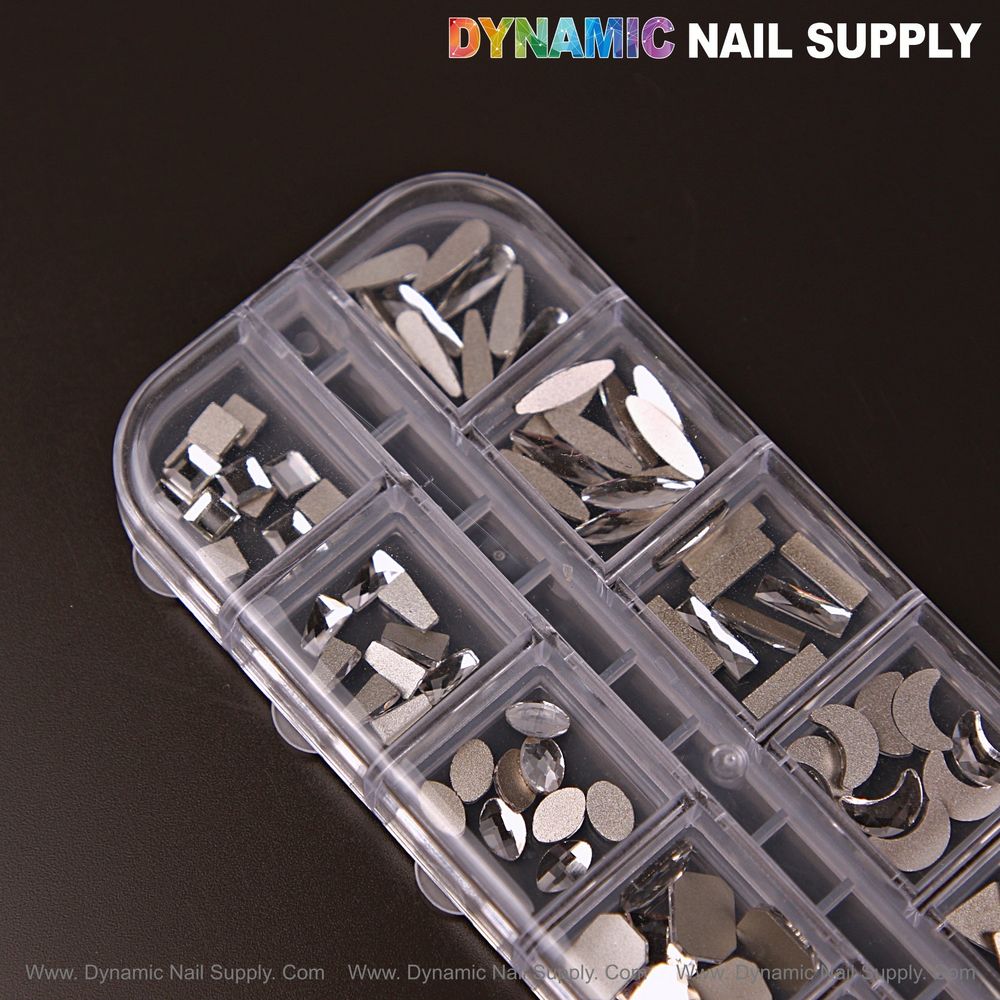
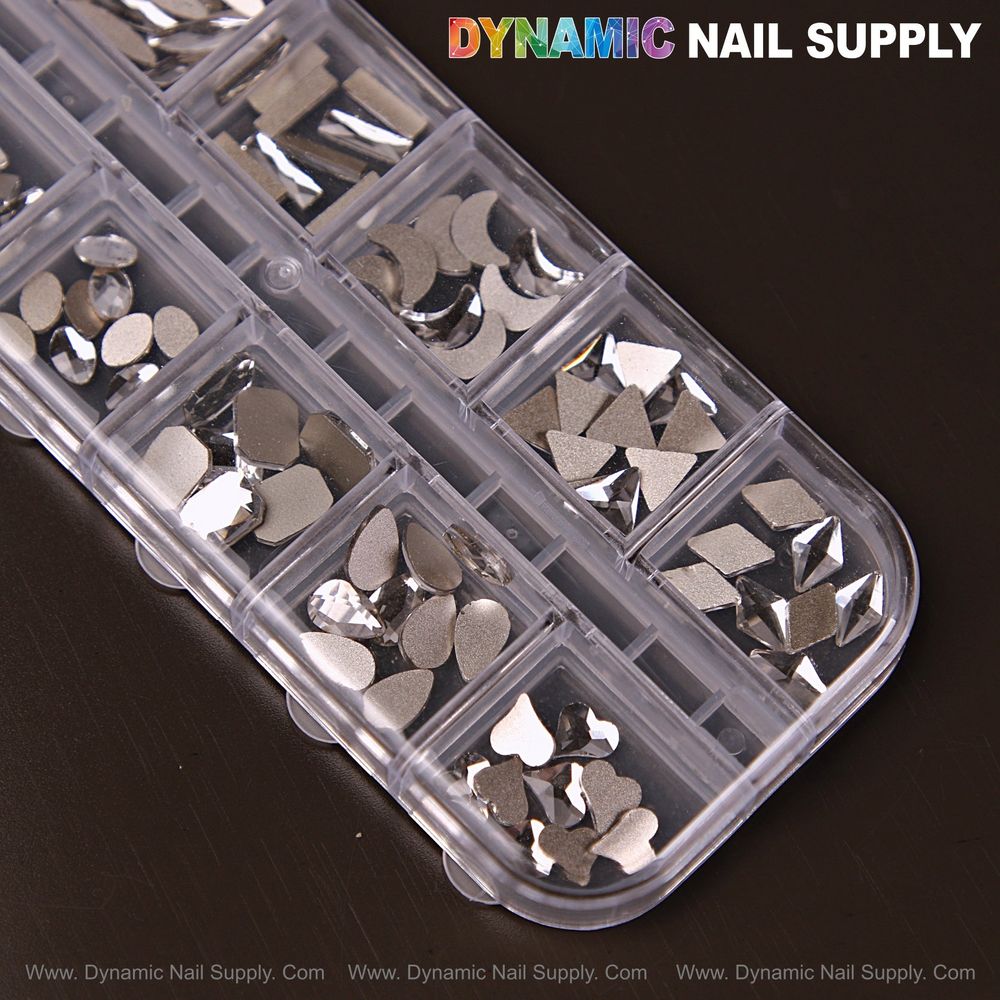
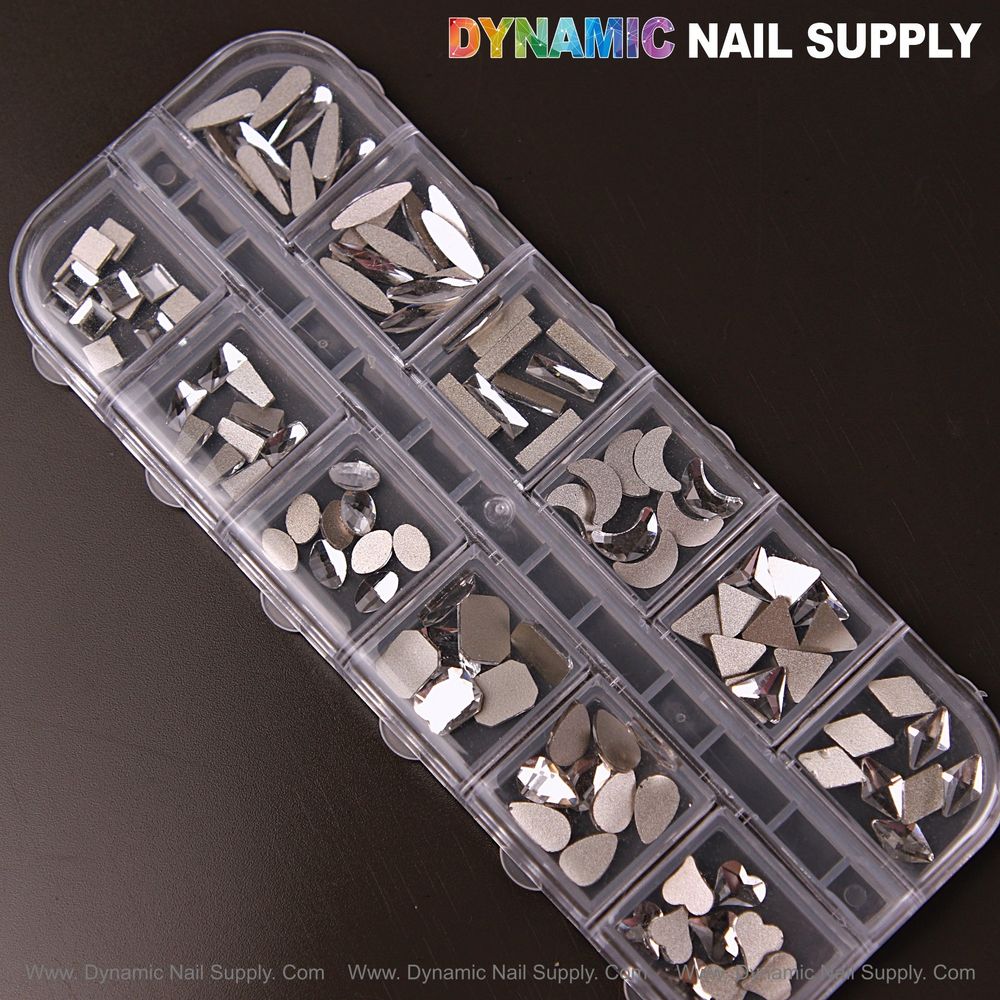
The set contains twelve distinct crystal shapes in a silver finish: square, water drop, rectangle, triangle, half moon, oval, round square, and heart. Each is flat-backed for reliable adhesion and arranged in an organizer box so you can quickly find the sizes you want. A rhinestone picker pen and tweezers are included to make precise placement faster and cleaner.
Tools, adhesives and prep for pro results
- Essential tools included: picker pen and tweezers for fast, accurate placement.
- Adhesives: use nail rhinestone glue for press-on styles, or embed gems with builder gel or gem gel and cure as directed for long wear.
- Prep: start with clean, dry nails. Remove oils with alcohol wipe, shape and buff lightly, and apply your base polish or builder layer before adding gems.
- Workspace: a small tray or the included storage box prevents tiny crystals from rolling away.
Step-by-step application for a salon finish
- Plan your design: lay out shapes on the box lid to visualize spacing and symmetry.
- Anchor point: apply a small dot of adhesive where the gem will sit. If using gel, place the gem on uncured gel and then cure; for glue, allow adhesive to tack slightly before positioning.
- Pick and place: use the picker pen to pick up gems by their flat back, or fine tweezers for larger shapes. Set them gently, then press for a few seconds to seat the stone.
- Seal the edges: for extra longevity, apply a thin bead of builder gel or clear top coat around the base of larger gems and cure if applicable. Avoid covering the stone’s top surface unless you want a domed finish.
- Final top coat: on surrounding nail areas, finish with a high-gloss top coat to blend the look and protect polish from lifting under gems.
Design ideas using mixed shapes
Shape variety lets you mix classic layouts with modern accents. Try these looks:
- Minimal accent: place a single oval or heart near the cuticle on one accent nail for subtle sparkle.
- Clustered glam: cluster small rounds and a central square for a statement accent. Use triangles or half moons to frame the cluster.
- Silver French: instead of polish tips, arrange a line of tiny round or rectangular crystals at the free edge for a jeweled French tip.
- Mixed-media: combine crystals with metallic foils or stamped art around geometric shapes for salon-level artistry.
Who should use this set
This assortment is suited to nail technicians building a versatile kit and DIY enthusiasts who want variety without buying multiple single-shape packs. The flat-back format works well on acrylic nails, gel nails and press-on sets, and the included organizer keeps small parts tidy for frequent use. These mixed silver gems are also handy for small craft projects like phone cases or embellishing accessories.
Care, removal and safety notes
- Safety: rhinestones are small parts—keep them away from children under 3 years old.
- Removal: remove gems gently to avoid nail damage; soak or use an appropriate remover for the adhesive method you chose, then lift stones with tweezers. Avoid forcing stones off, which can strip nail layers.
- Storage: return unused gems to the organizer box after each use to prevent loss and mix-up of sizes.
- Glue note: rhinestones are not self-adhesive and glue is not included in the kit.
Practical tips for longer wear
- Place larger stones near the nail center to reduce catch points at the free edge.
- Use a small drop of gel under larger gems and cure; this acts like an anchor and reduces lifting.
- When decorating press-on nails, apply gems before adhering the tips to your natural nail to ensure better pressure and positioning.
- Keep a tiny bottle of nail glue in your kit for quick repairs between fills or when a gem loosens.
With a selection of shapes and sizes in a silver finish, this rhinestone kit lets you create endless professional-looking manicures. The set is affordable, compact and designed for practical placement, making it a go-to option for both salon pros and at-home artists. Sold by Dynamic Nail Supply, these mixed crystals make it simple to add luxe detail to any nail look.
Final thought: practice a few layouts on tips or a nail wheel to speed placement and refine symmetry — a few minutes of rehearsal will pay off in salon-quality results.